 |
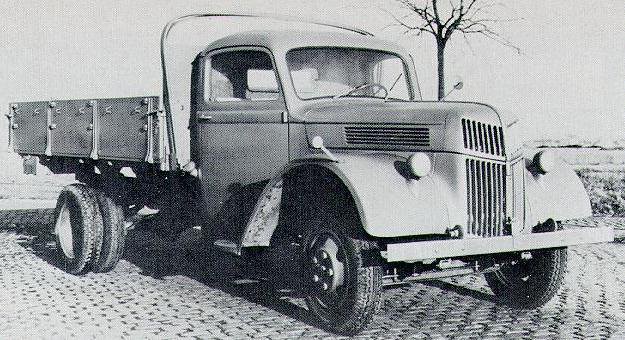
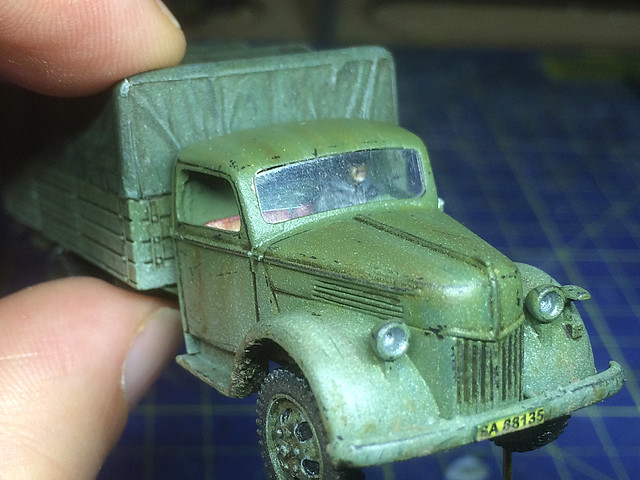
| Nice shot of a German model Ford-Werke V3000s (late model). |
The Canvas Tilt
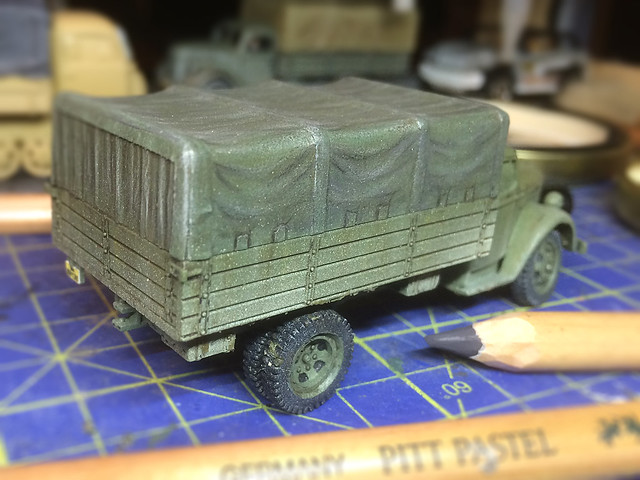
The canvas tilt was a part that was donated by the Italeri Opel Blitz part of this conversion. It wasn't the best model of a canvas cover and had little moulded detailing and was very smooth. I would have preferred some wrinkles and folds, but no.
 |
| A photo of the Italeri tilt cover before painting. A bit featureless and smooth. |
I could have just as easily used soft Conte chalks but I preferred the pastel pencils because I could sharpen them to a point for drawing on fine detail and outlines.
Highlighting and touching up
Last thing I do [with regards to painting] is touch up small bits I am not so happy with or think need sprucing up. With handling some delicate effects can wear off, or adding a layer of varnish can dull down some others. I also add the brightest highlights with pure white - obviously this needs to be done sparingly.
Things like the rims and sharp edges look nice with a 'reflective highlight'. The top of small bolts and rivets too, plus the edge of the tread on the tires are all places that can be lifted up with a bit of white. I use whatever seems most fitting, a white pastel pencil when I want to blend the 'shine' slightly or, for extreme highlights, white acrylic paint.
 |
| Oh...And there was one last bit of tinkering! Axel modifications. |
Gaming base
As usual with this particular project I am adding a 'gaming base'. I cut a rectangle of plastic card with a 5mm overhang around the 'footprint' of the vehicle. All my medium trucks are turning out to require a base that is 40mm wide, but length varies depending on the type of wheelbase of the vehicle.
I think I have the technique for doing these bases pretty much off-pat now. A Pollyfilla 'ground' is given some wheel tracks when nearly dry (I have some spare wheels with deep treads I keep especially for this). Then, when completely dry, I give the ground a coat of dark brown which I then dry-brush with medium brown and then highlight with a light brown (to give a dry mud effect).
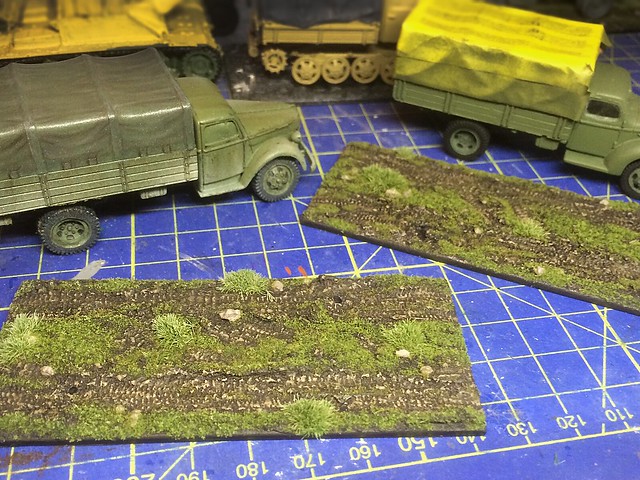
On top of my muddy earth terrain I glue some random rocks and then add a sprinkling of static grass. Finally I add a few clumps of tufty grass. The whole thing gets a spray of varnish when complete.
Windshield
Probably the thing I enjoy least is having to make my own model windscreens. Quite apart from the fiddly custom cutting and fitting there is always the chance I get glue in the wrong place when installing them (a common issue for a Kitnoob like me).
I've done this a few times now so have a process worked out - with trucks anyway - but I still get very nervous doing it. (I just realised, in fact, that I have not made one truck yet that has a factory-made set of windscreens!) I trace the shape of the trucks windows onto some masking tape then lay a pice of transparent plastic over this and draw the shape onto the plastic, then cut it out. Simples! (I wish!)
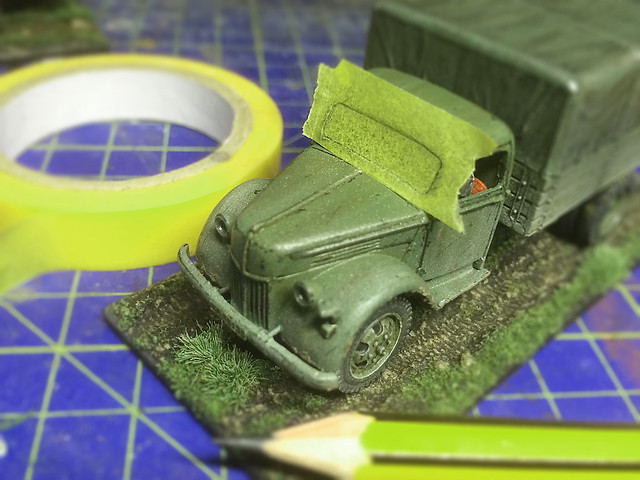
So, the only thing to add here is that while when I started modelling I thought I needed to buy 'special' sheets of transparent plastic from my local model shop for this (which were expensive) I now use any old transparent plastic from our packaging recycle bin!
 |
| This is the bit I don't like, custom fitting of the windscreens. You pop them in, take them out again, sand, pop them back in, take them back out, etc, etc, etc... |
I like a nice secure mount so I don't just glue the model to the base. I drill holes into one of the front tires and one of the rear ones and insert a small piece of metal rod. I then drill holes in the base itself and inset the vehicle tire's metal rods in these holes. I then glue the rods into the base - this makes for a very firm mounting of the vehicle to my base.
 |
| I insert two rods like this, one in the front-left tyre and one in the rear-right. (I should add that I do cut the rods to fit the thickness of the base!) |
At this point - which could technically be termed 'the completion' - I take a long good look at the model from all angles. I look out for tiny mistakes that can be easily rectified by a touch or paint or any chips or scratches. Anything that is amiss I try and put right before deciding whether the model require one final light spray of varnish - also, I might decide to tone down previous varnish coats of satin if they are proving too shiny with a very light squirt or matt varnish.
But otherwise, this is the end of the project...Except for the completion photography of course!
Thanks for bearing with my long-winded project posts.
No comments:
Post a Comment