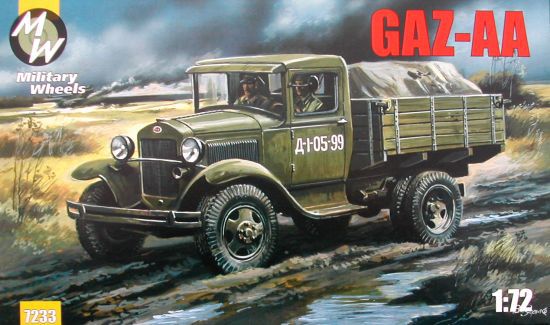
This follows on from my Flak 38 project, as I now need myself a towing vehicle! And, by sheer coincidence, my brother got me a Military Wheels GAZ-AA truck which will fit the bill nicely.
So, Military Wheels - 'Made in Ukraine'. My experience of Eastern Europian plastic kit manufacturers (PST, ACE and Zebrano) has been not altogether positive, though my current PST GAZ-55 has been quite enjoyable. My general view is that Eastern European kit manufacturers often overreach themselves - they supply a lot of parts, but this plethora of parts often don't fit well or they don't tell you exactly where all the additional parts go!
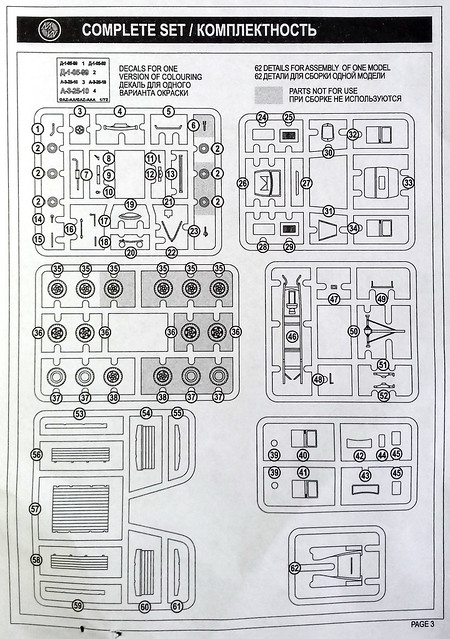
The MW GAZ-AA is a case in point as there is a total of seven sprues and a whopping 62 parts in all. This, just for a light truck. But, to be fair, I do like some of the extras they have included, such as the optional doors made out of transparent plastic so you don't have to fit windows...
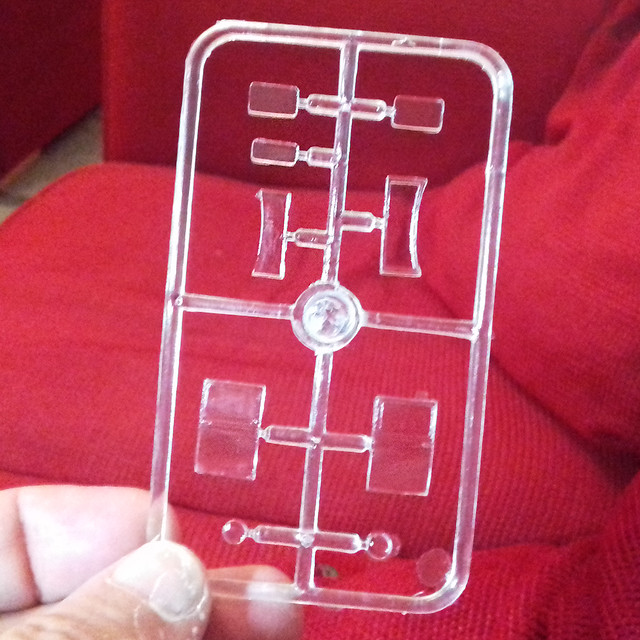 |
| MW include two options for doing the windows. You can either fit the individual window pieces, or you can fit the one-piece doors with integral windows and a one-piece windscreen and frame. Easier than glueing in windows! |
OK, so warnings over, let's see how I put this together...
1. The Chassis...
Plenty of detail here, pity it won't be seen. The only problem I had here was that I am not a car owner or at all mechanically minded, so knowing exactly what do-dad goes where (bearing in mind the vague instructions) meant some Googling and a bit of guess work. But, I *think* my effort looks OK...
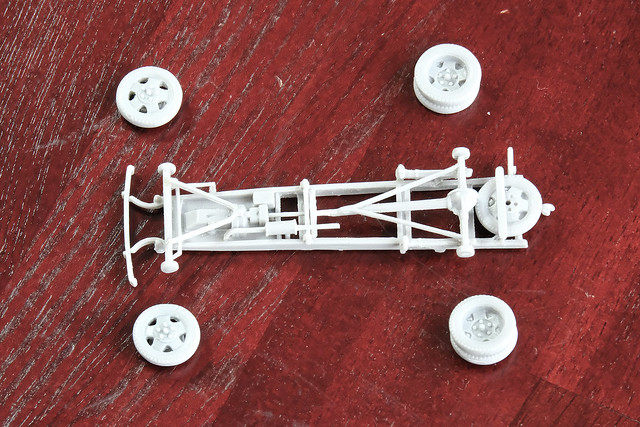
My only niggle is the tread on the tires, or rather the lack of any such thing. I would have liked some nice tred patterns, but I had to sand the outer edges down because of moulding seams.
I will be leaving the wheels off until I paint and weather the completed chassis/body assembly (so I can get some mud and dirty under the mud guards).
2. The Cab...
Because I want to add a driver figure - and the MW kit does not include one - I am having to deviate from the instructions somewhat. Despite my usual practice of making a 1/76 scale figure for a 1/72 vehicle cab (so it fits inside the model) I still had to do some tinkering to get the driver in, including cutting a hole in the seat!

I went for the option of using the transparent doors, but used the 'glass' components for the windshield and rear window. These fitted perfectly (well-done MW) and just needed a slight touch of super glue to stick them in place. I'm so glad not to be cutting out acetate for once!
Obviously, I haven't glued the cab together as I need to paint the interior (masking out the windows first) before closing the thing up.
3. The Cargo Flatbed...
Easy-peasy. Just four parts, which go together nicely. These have lots of nice planking detail and some latches and side-straps, but no rivets.

Now, there will be some additional scratch building to accompany this section of the truck, as I want to add a canvas tilt cover. Once again, this is perhaps not quite historically accurate - the Finns seem to prefer open cargo beds - but for the sake of war gaming aesthetics I prefer the bed covered. (It saves me from worrying about modeling the additional crew or cargo for when the truck is in transport mode. I'm a bit anal about such minutia.)
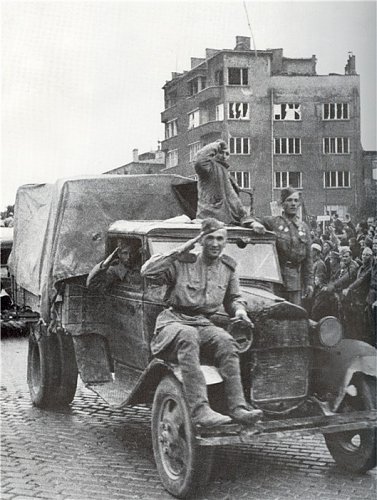 |
| Though rare, the GAZ AA was occasionally fitted with a canvas cover. This photo shows a war weary AA entering Berlin in 1945. Source: Unkown |
Conclusions...
It's not a bad kit! I like MW's thinking behind the glass parts and appreciate the options provided. And you can't say that there aren't enough parts, and the surface detail is decent enough.
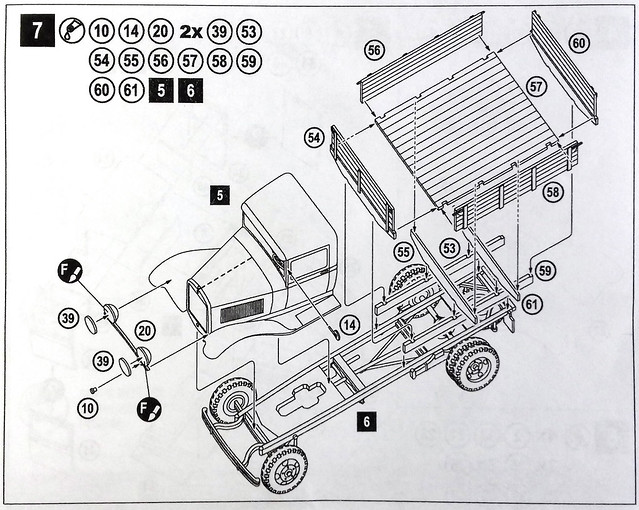 |
| In theory, this is how all three major assemblies should go together. |
It's just some niggles like this, nothing major. And to offset this, the parts do look smart and have some nice detail that should look great once the model is painted. So, all in all, it's a worthwhile kit.
I'm happy! :)
NEXT: Masking and Priming.
No comments:
Post a Comment